
Quickstart
Before you start
You need a GitHub account. Deptools reads your build files from GitHub through its own GitHub App. You can sign in with GitHub, or sign up with Google or an email address and connect GitHub afterwards.
You also need a repository that declares its dependencies in a supported build file. Maven, Gradle, npm, sbt and Composer are supported. See supported ecosystems for the exact files that are read.
On the Free plan you can create up to 10 projects on public repositories, and each project can be scanned once every 3 hours. You can create several projects from the same repository, one per module or one per scope configuration, and each one counts toward the limit.
Create your account
Open the sign up page and create an account in one of three ways:
- With GitHub. You authorize Deptools once, and your GitHub account is connected at the same time.
- With Google. One click, no password to choose. Your GitHub account is not connected by this, so connect it later from the project creation screen.
- With an email address. Deptools sends you a six digit code to confirm the address. If it does not arrive, check your spam folder. You can connect GitHub later, from the project creation screen.
Deptools creates your personal organization for you. You can add another organization later if needed. See organizations and plans.
Add your first project
Adding a project takes three steps: authorize the GitHub App, pick the repository, then configure what gets analyzed. A repository that declares several modules adds a fourth, choosing which one to analyze.
From your projects page, open Connect a repository, then choose GitHub repository.
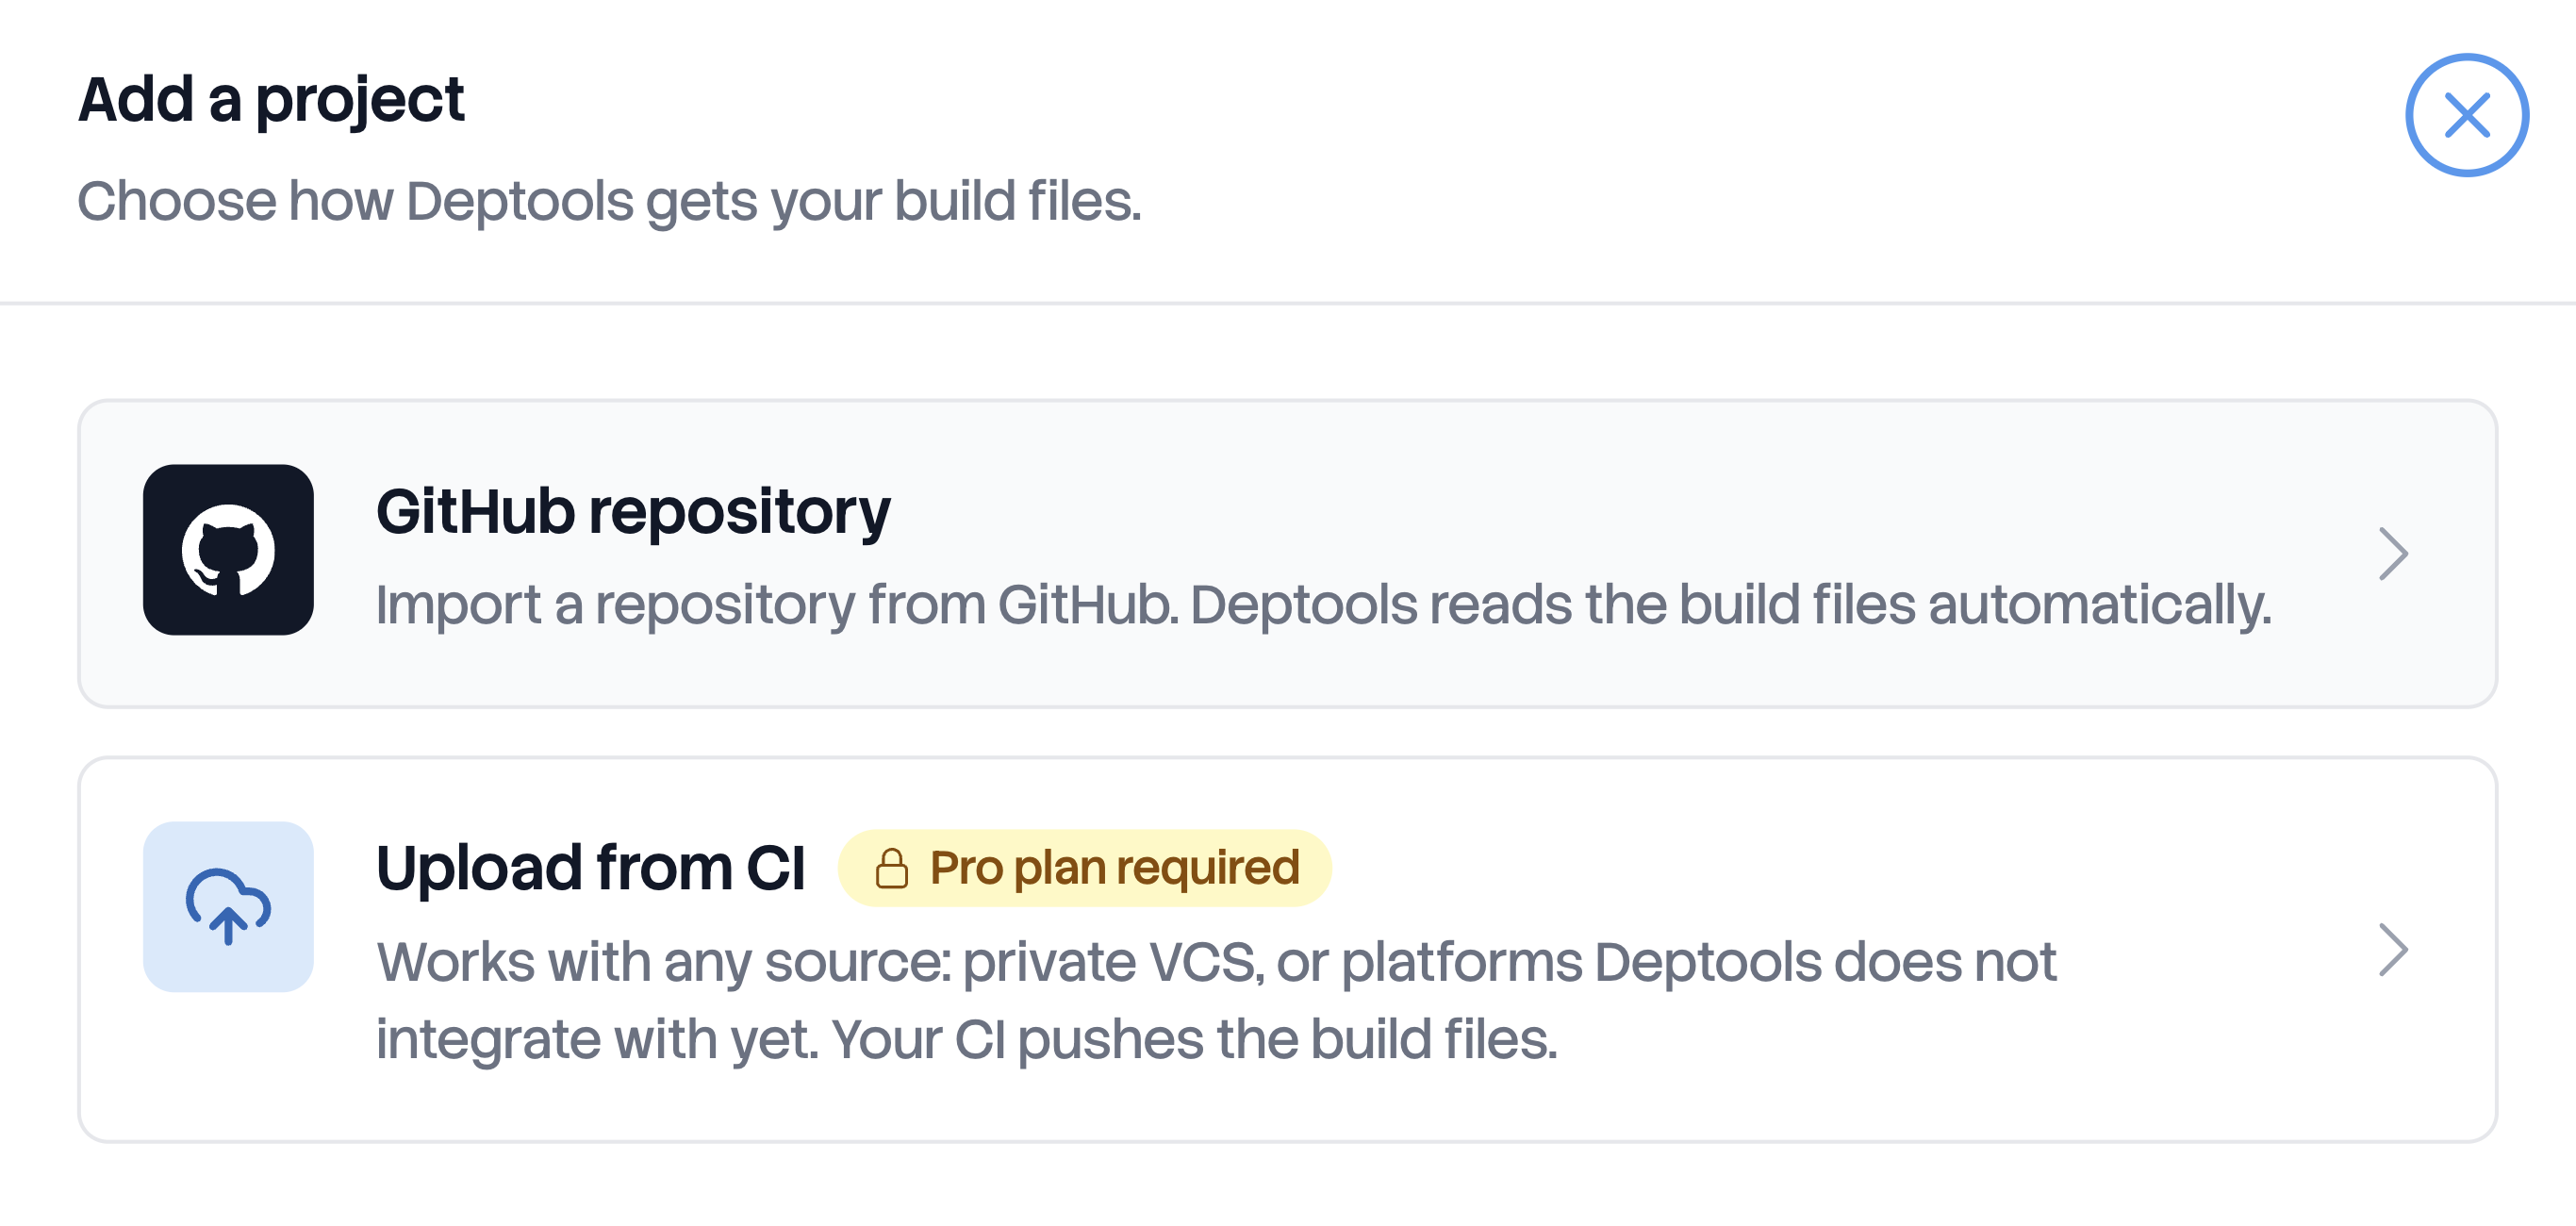
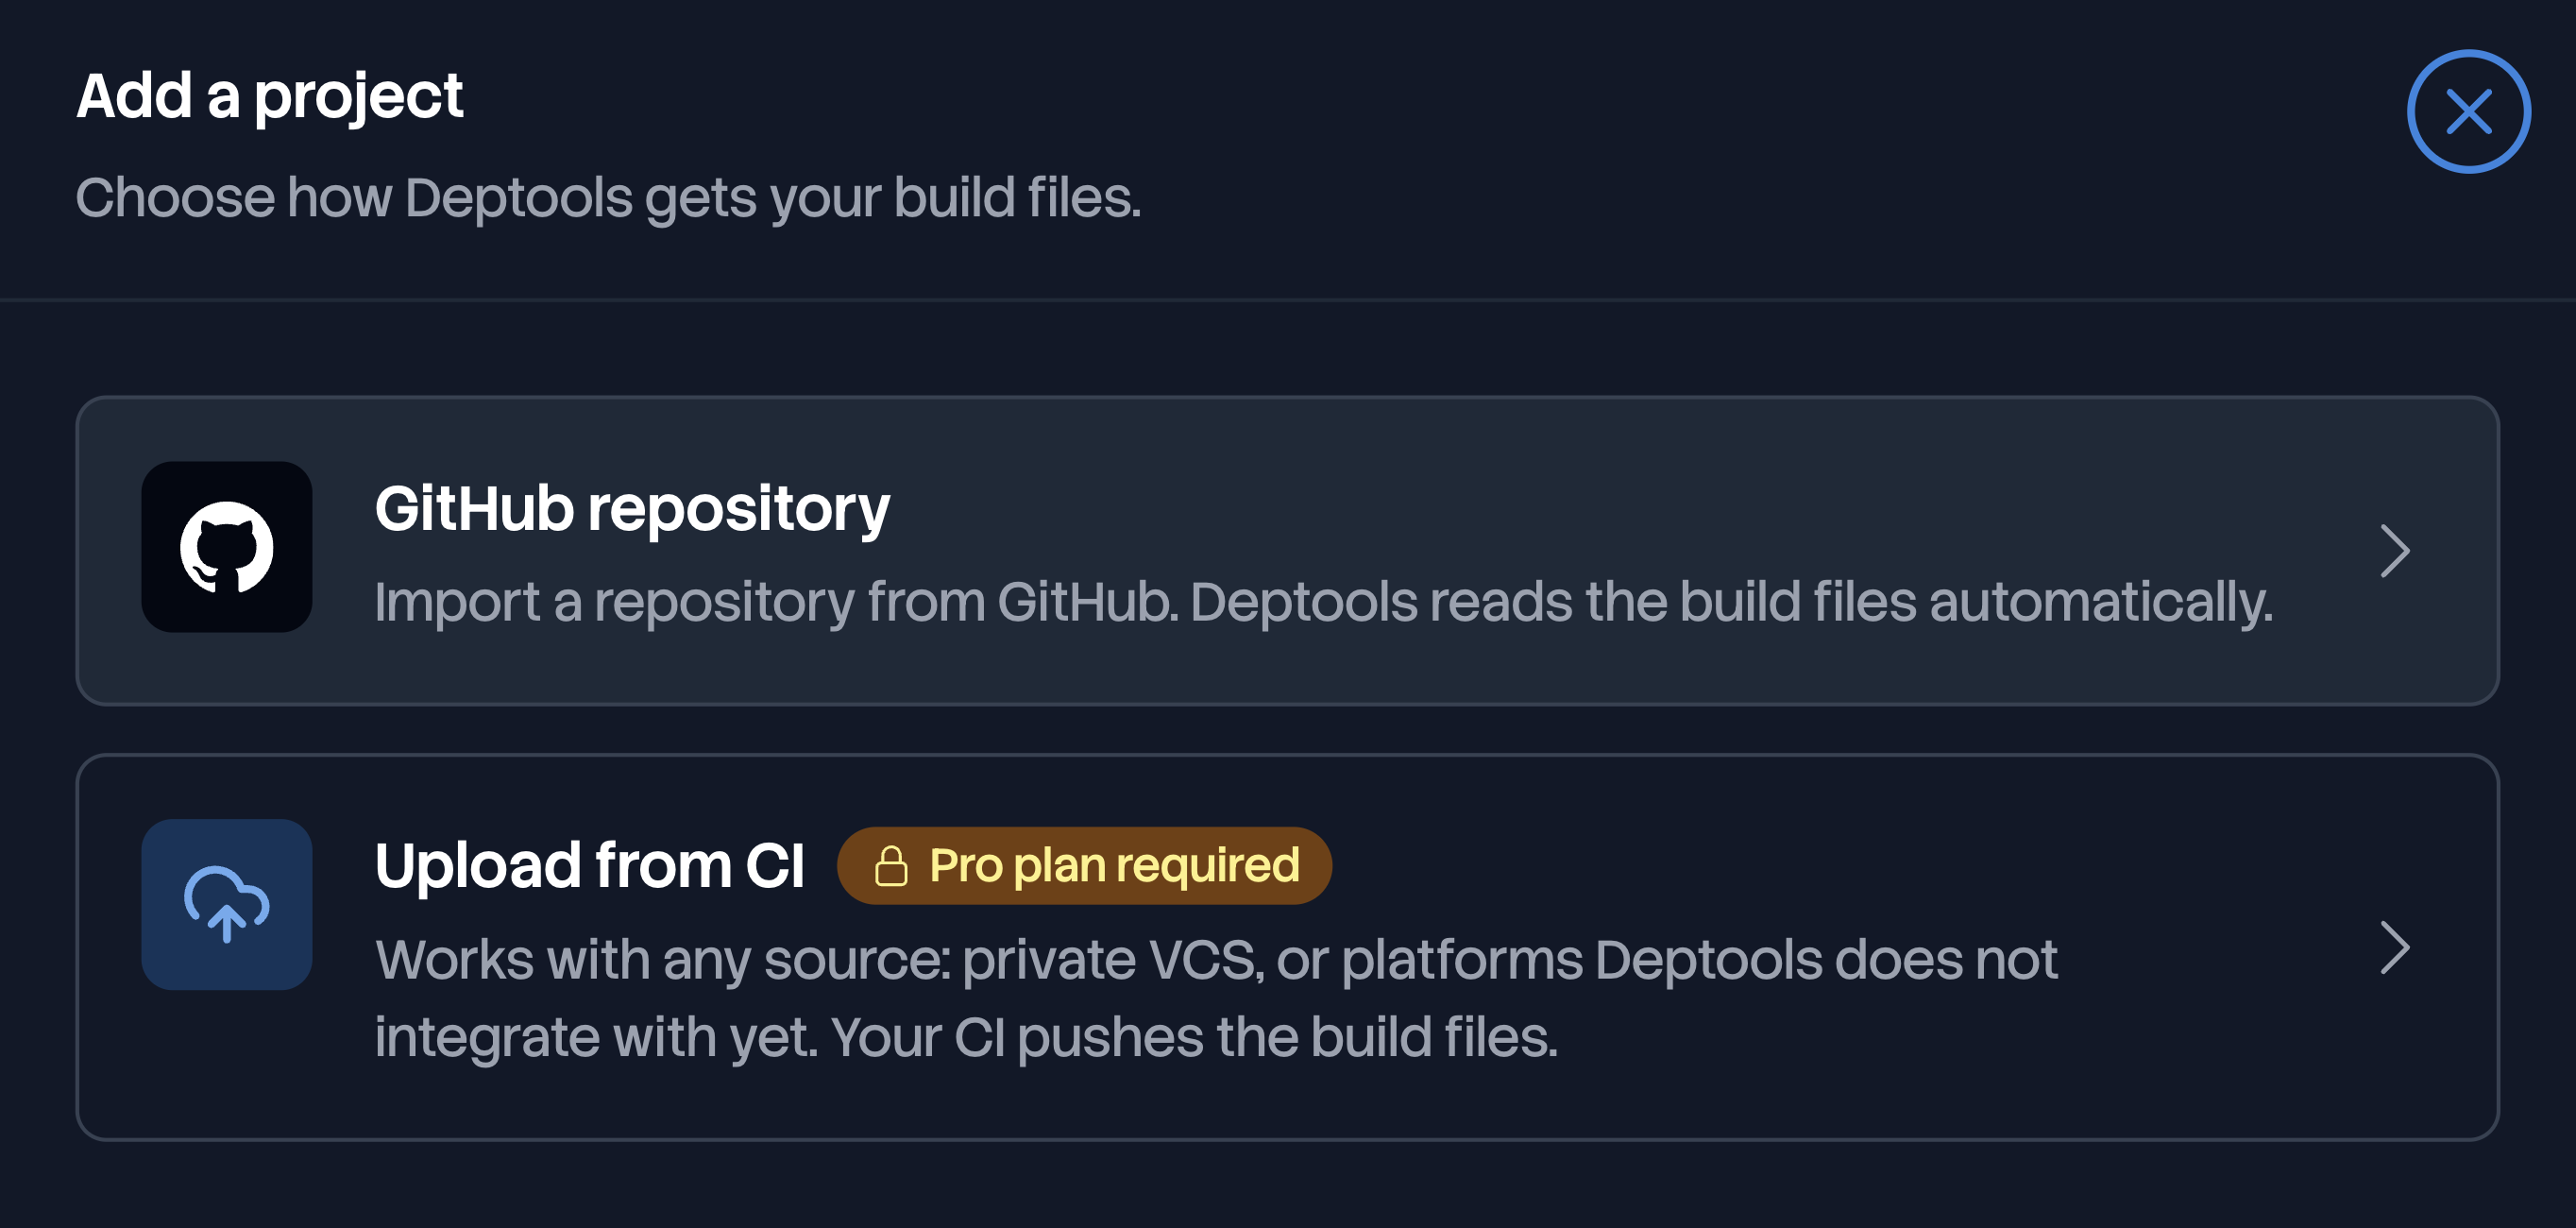
The first time, Deptools asks you to install its GitHub App. Signing in with GitHub is not enough: that step identifies you, but it grants no access to any code. The App is what reads your build files, and you decide what it can reach. On GitHub, install it on your account or on an organization, then grant it access to all repositories or to a list you choose.
Come back to Deptools and use Refresh. Only the repositories you granted appear in the list. If one is missing, use Manage access on GitHub to add it. Private repositories are listed only on the Pro plan, whatever you granted the App. Connect a GitHub repository covers the permissions the App requests, adding a repository later, and private repositories.
Pick a repository, then configure the project:
| Field | What it does |
|---|---|
| Project name | The name shown in Deptools. Prefilled with owner/repo, and free to change. |
| Branch | The branch whose build files are read. The default branch is preselected. |
| Ecosystem | Shown only when the repository declares several. The project analyzes the one you pick. |
| Dependency scopes to analyze | The dependency scopes considered in your graph. Every scope is selected by default except the test one, which the interface names Test on the JVM, Development on npm and Require Dev on Composer. |
Scope choices are made once, at creation. Read exclude dependency scopes before you confirm.
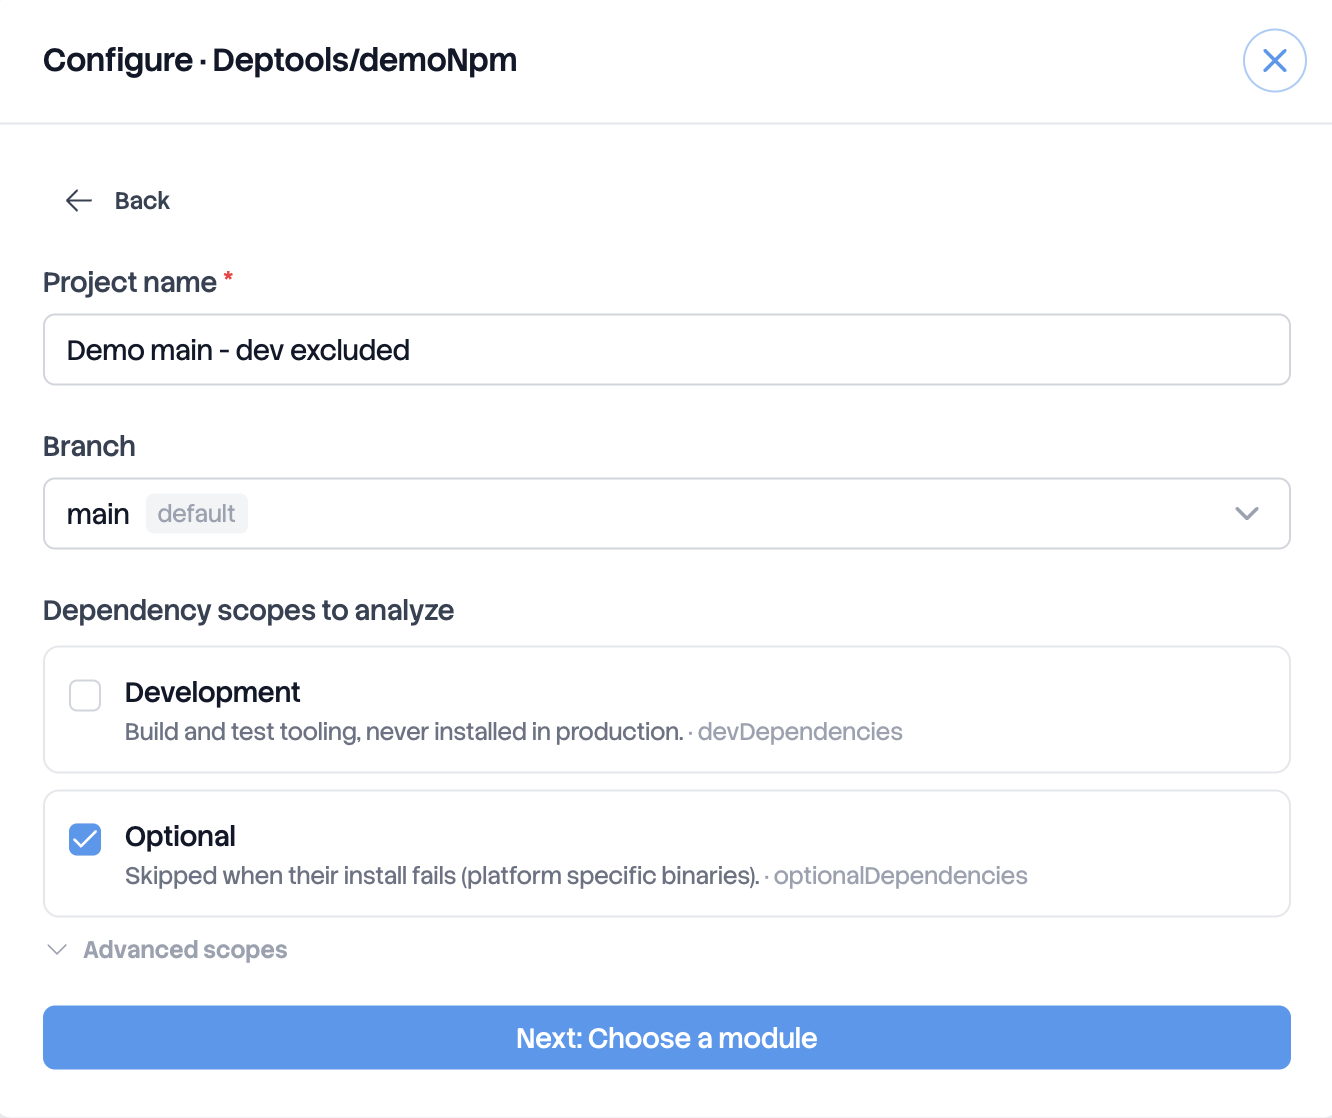
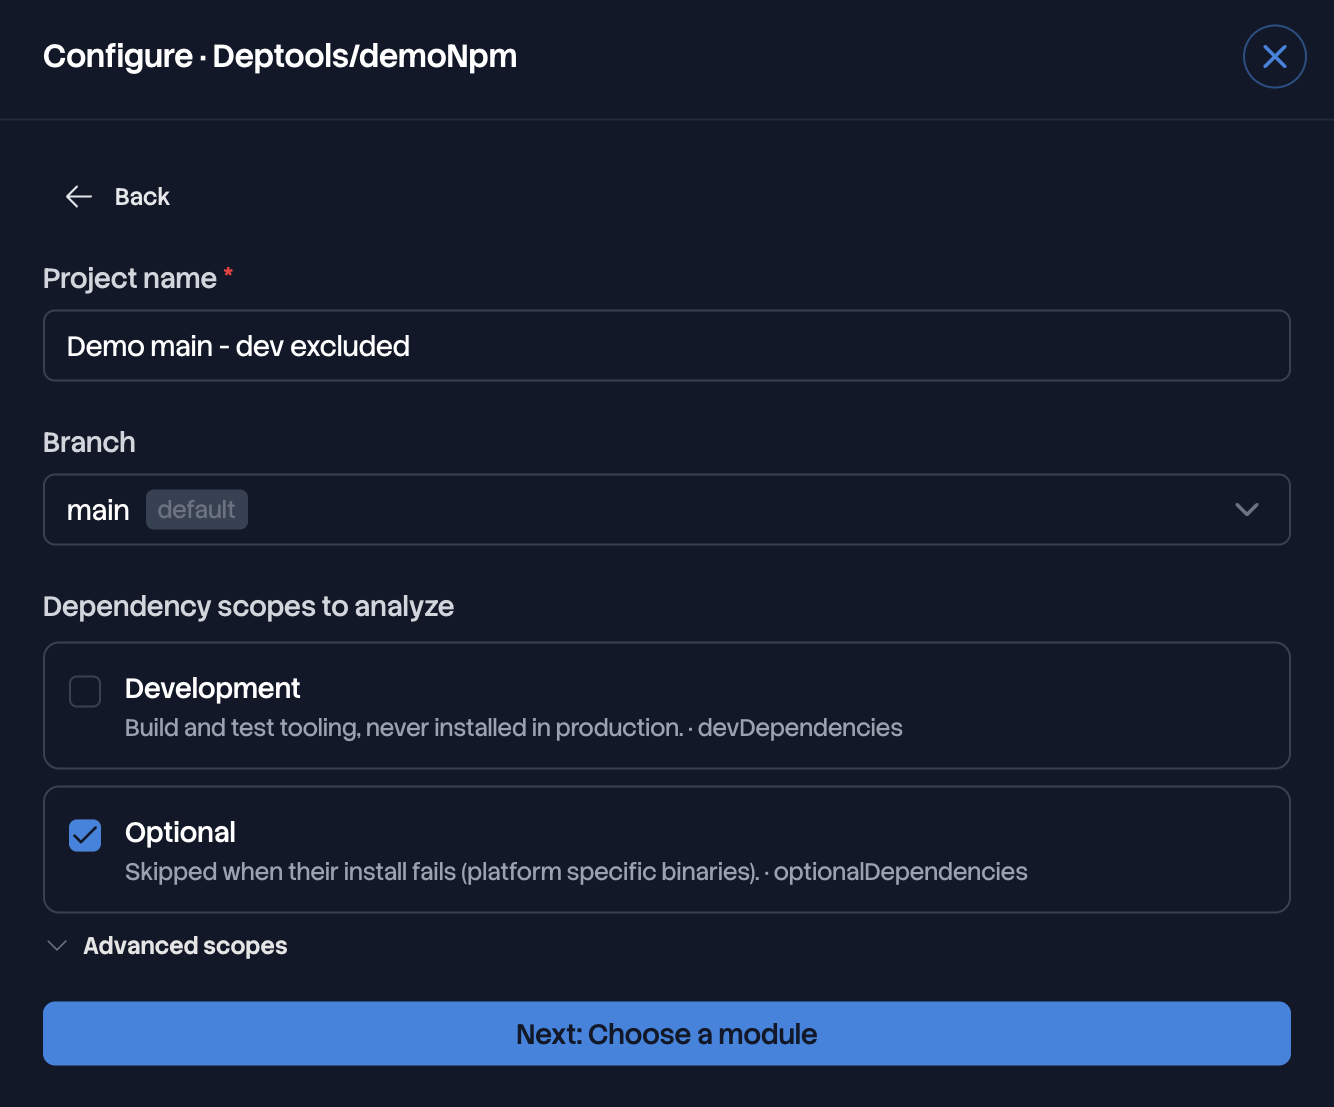
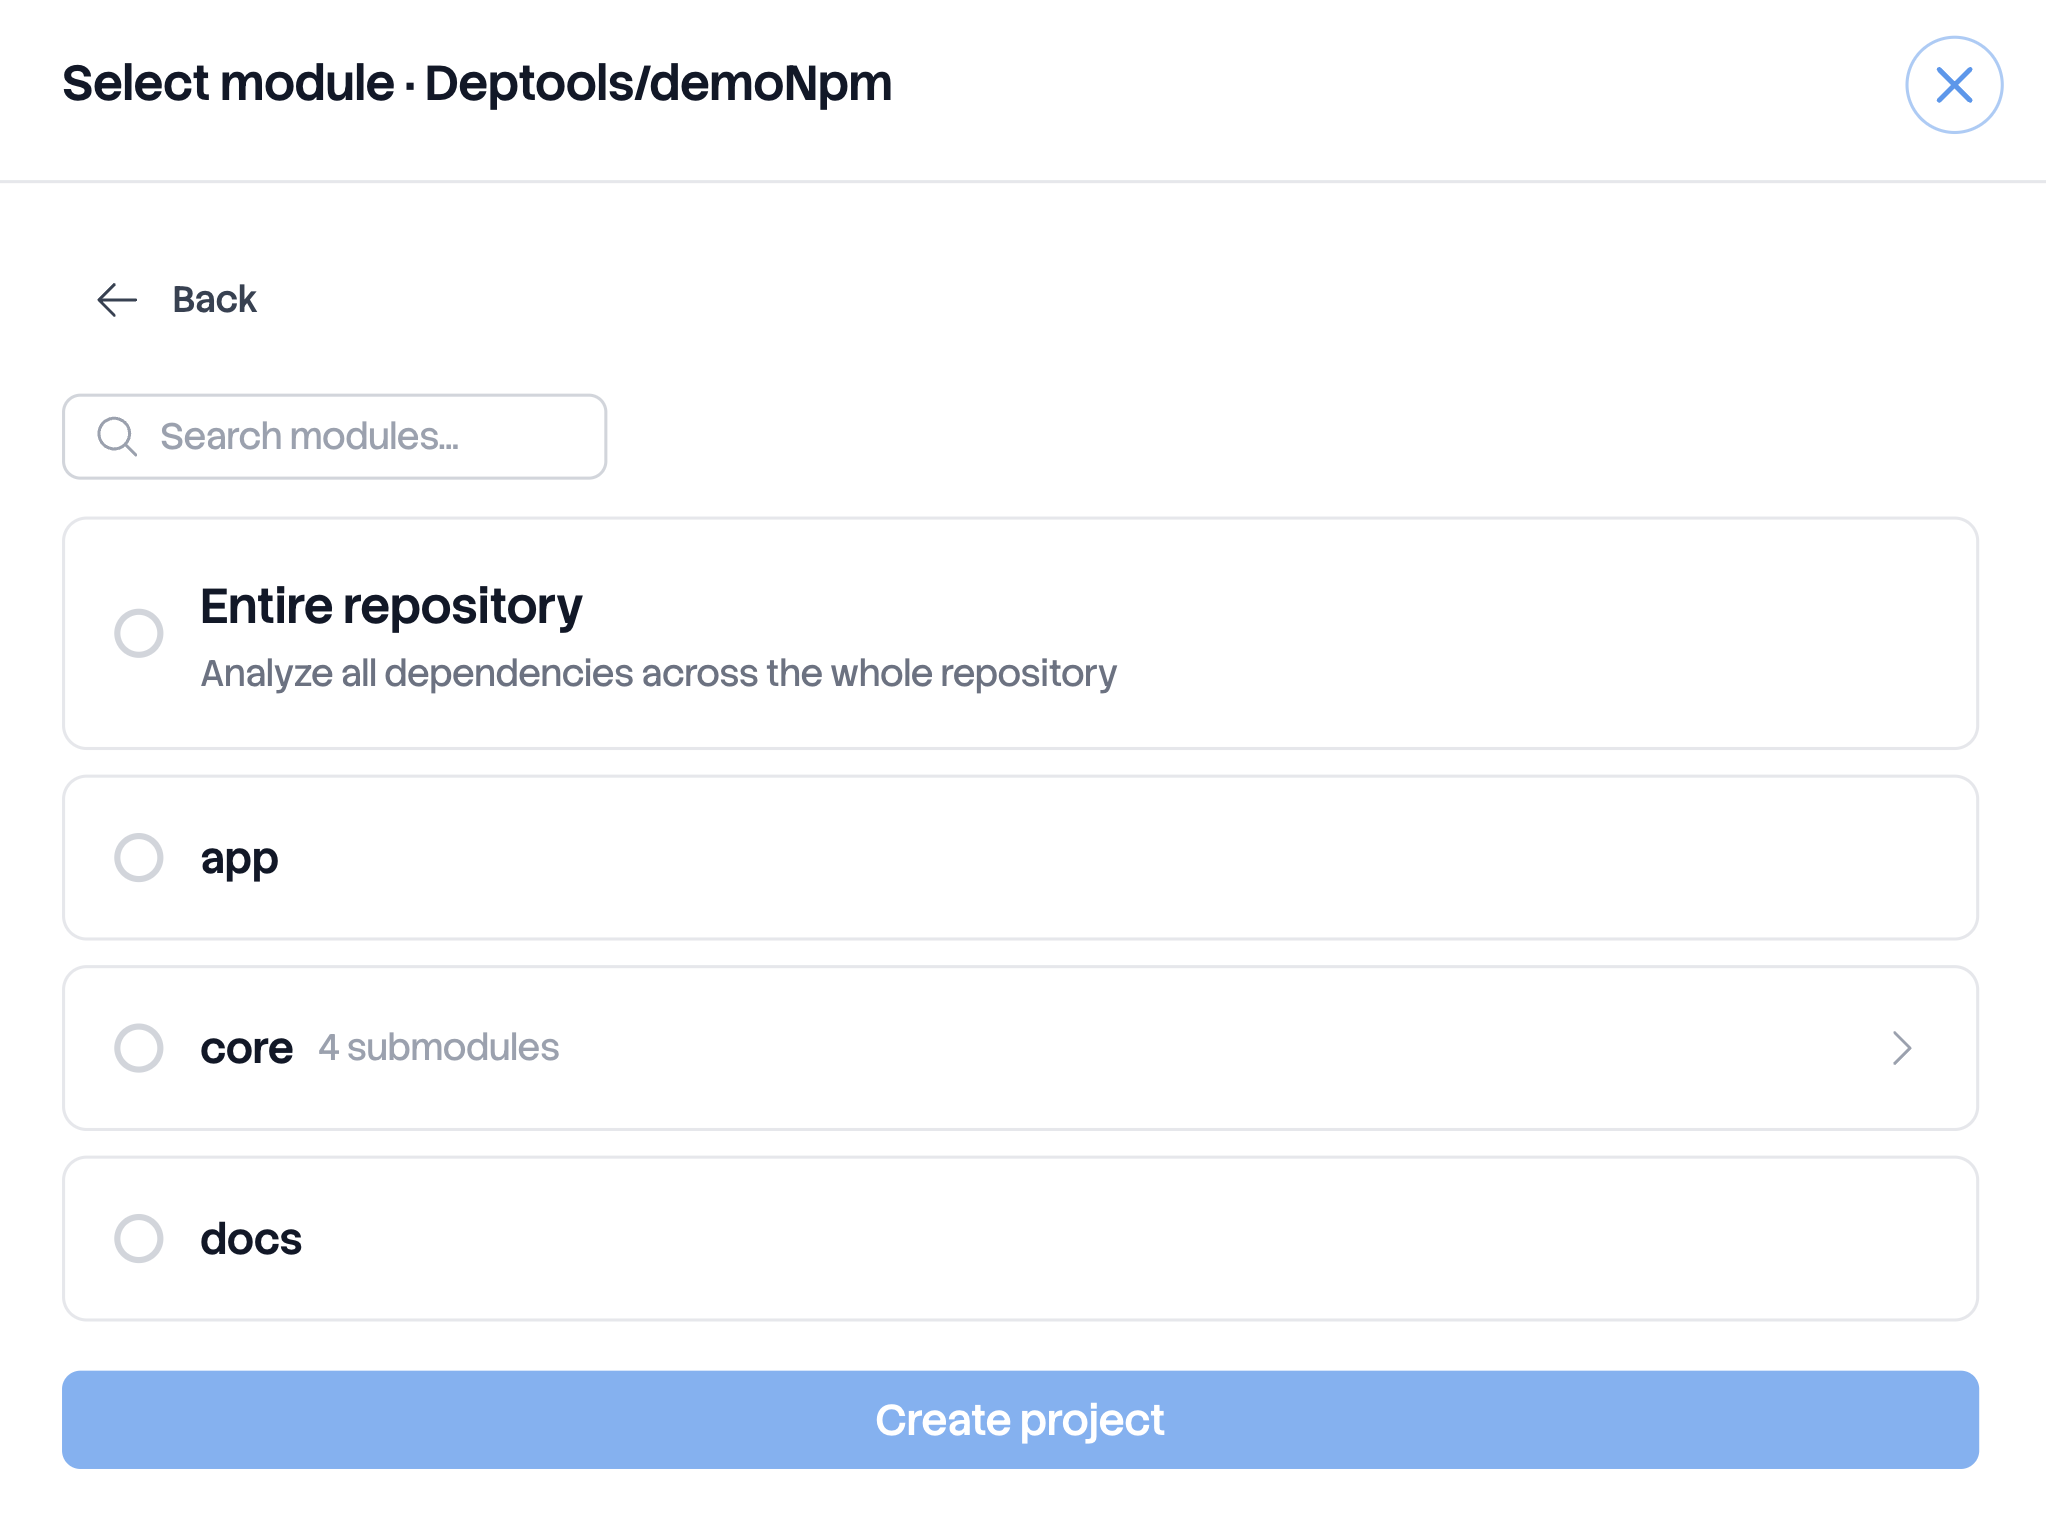
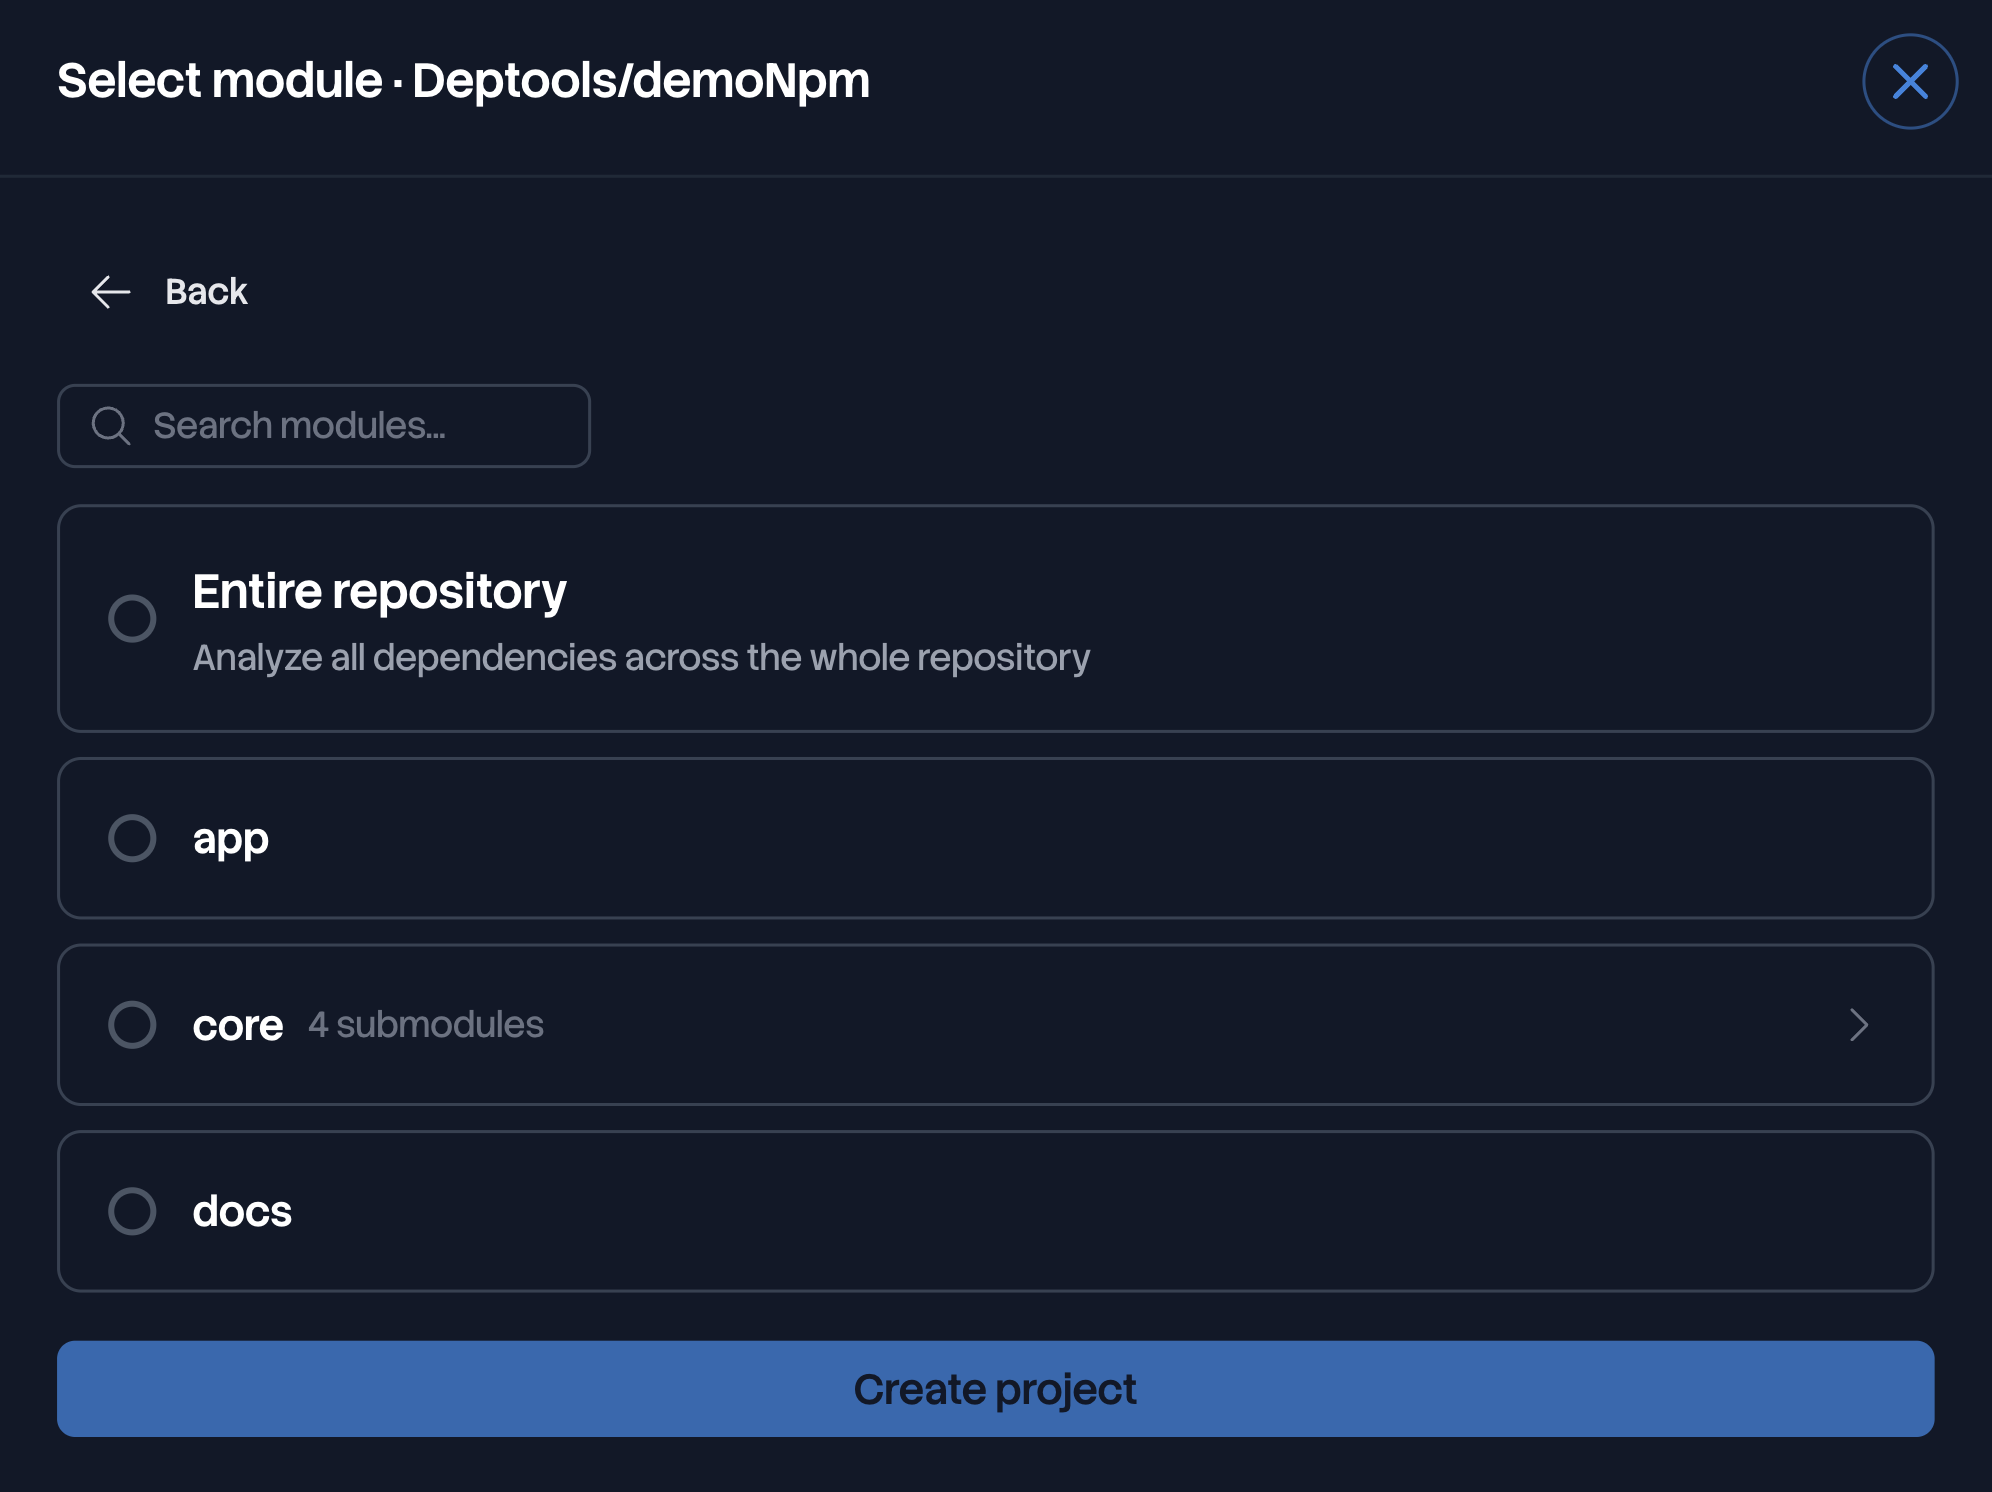
If the repository declares several modules, Deptools detects them and asks you to choose one. Entire repository analyzes them all in a single project. It appears only when the repository root holds a build file of its own. To follow each module separately, create one project per module.
Run the scan
You do not have to start the first scan. It runs as soon as the project is created.
The project card shows Scan in progress while it runs. This usually takes a few minutes. Deptools reads the build files, resolves the full dependency tree including transitive dependencies, then computes the metrics and the scores.
When the scan completes, the card shows the health score. View report opens the dashboard.
If the scan fails, the card says so and the project page gives the reason.
Next steps
- The health score explains where that number comes from.
- Scan from GitHub Actions runs a scan on every push, and fails the build when your dependencies get worse.